
"L" Shaped School Bus Conversion Layout | The Finished Product | Skoolie Conversion | Skoolie Build
Our Skoolie Conversion: The Finished Product
Just over one year ago, Josh and I purchased our 2001 Bluebird Freightliner school bus for $3,200. We spent 13 months renovating it into an off-the-grid tiny home on wheels, and ended up spending around $31,000 on the conversion. It turned out more amazing than even we imagined, and now we are living in it full time while we travel the U.S.!
Our skoolie is able to go completely off-the-grid, or be hooked up to shore power and city water amenities. We have 1,260 watts of solar panels on the roof for power, a 100 gallon fresh water tank and 100 gallon grey water tank for plumbing, wood stove for heat, and a 9,000 BTU mini-split for AC and heat.

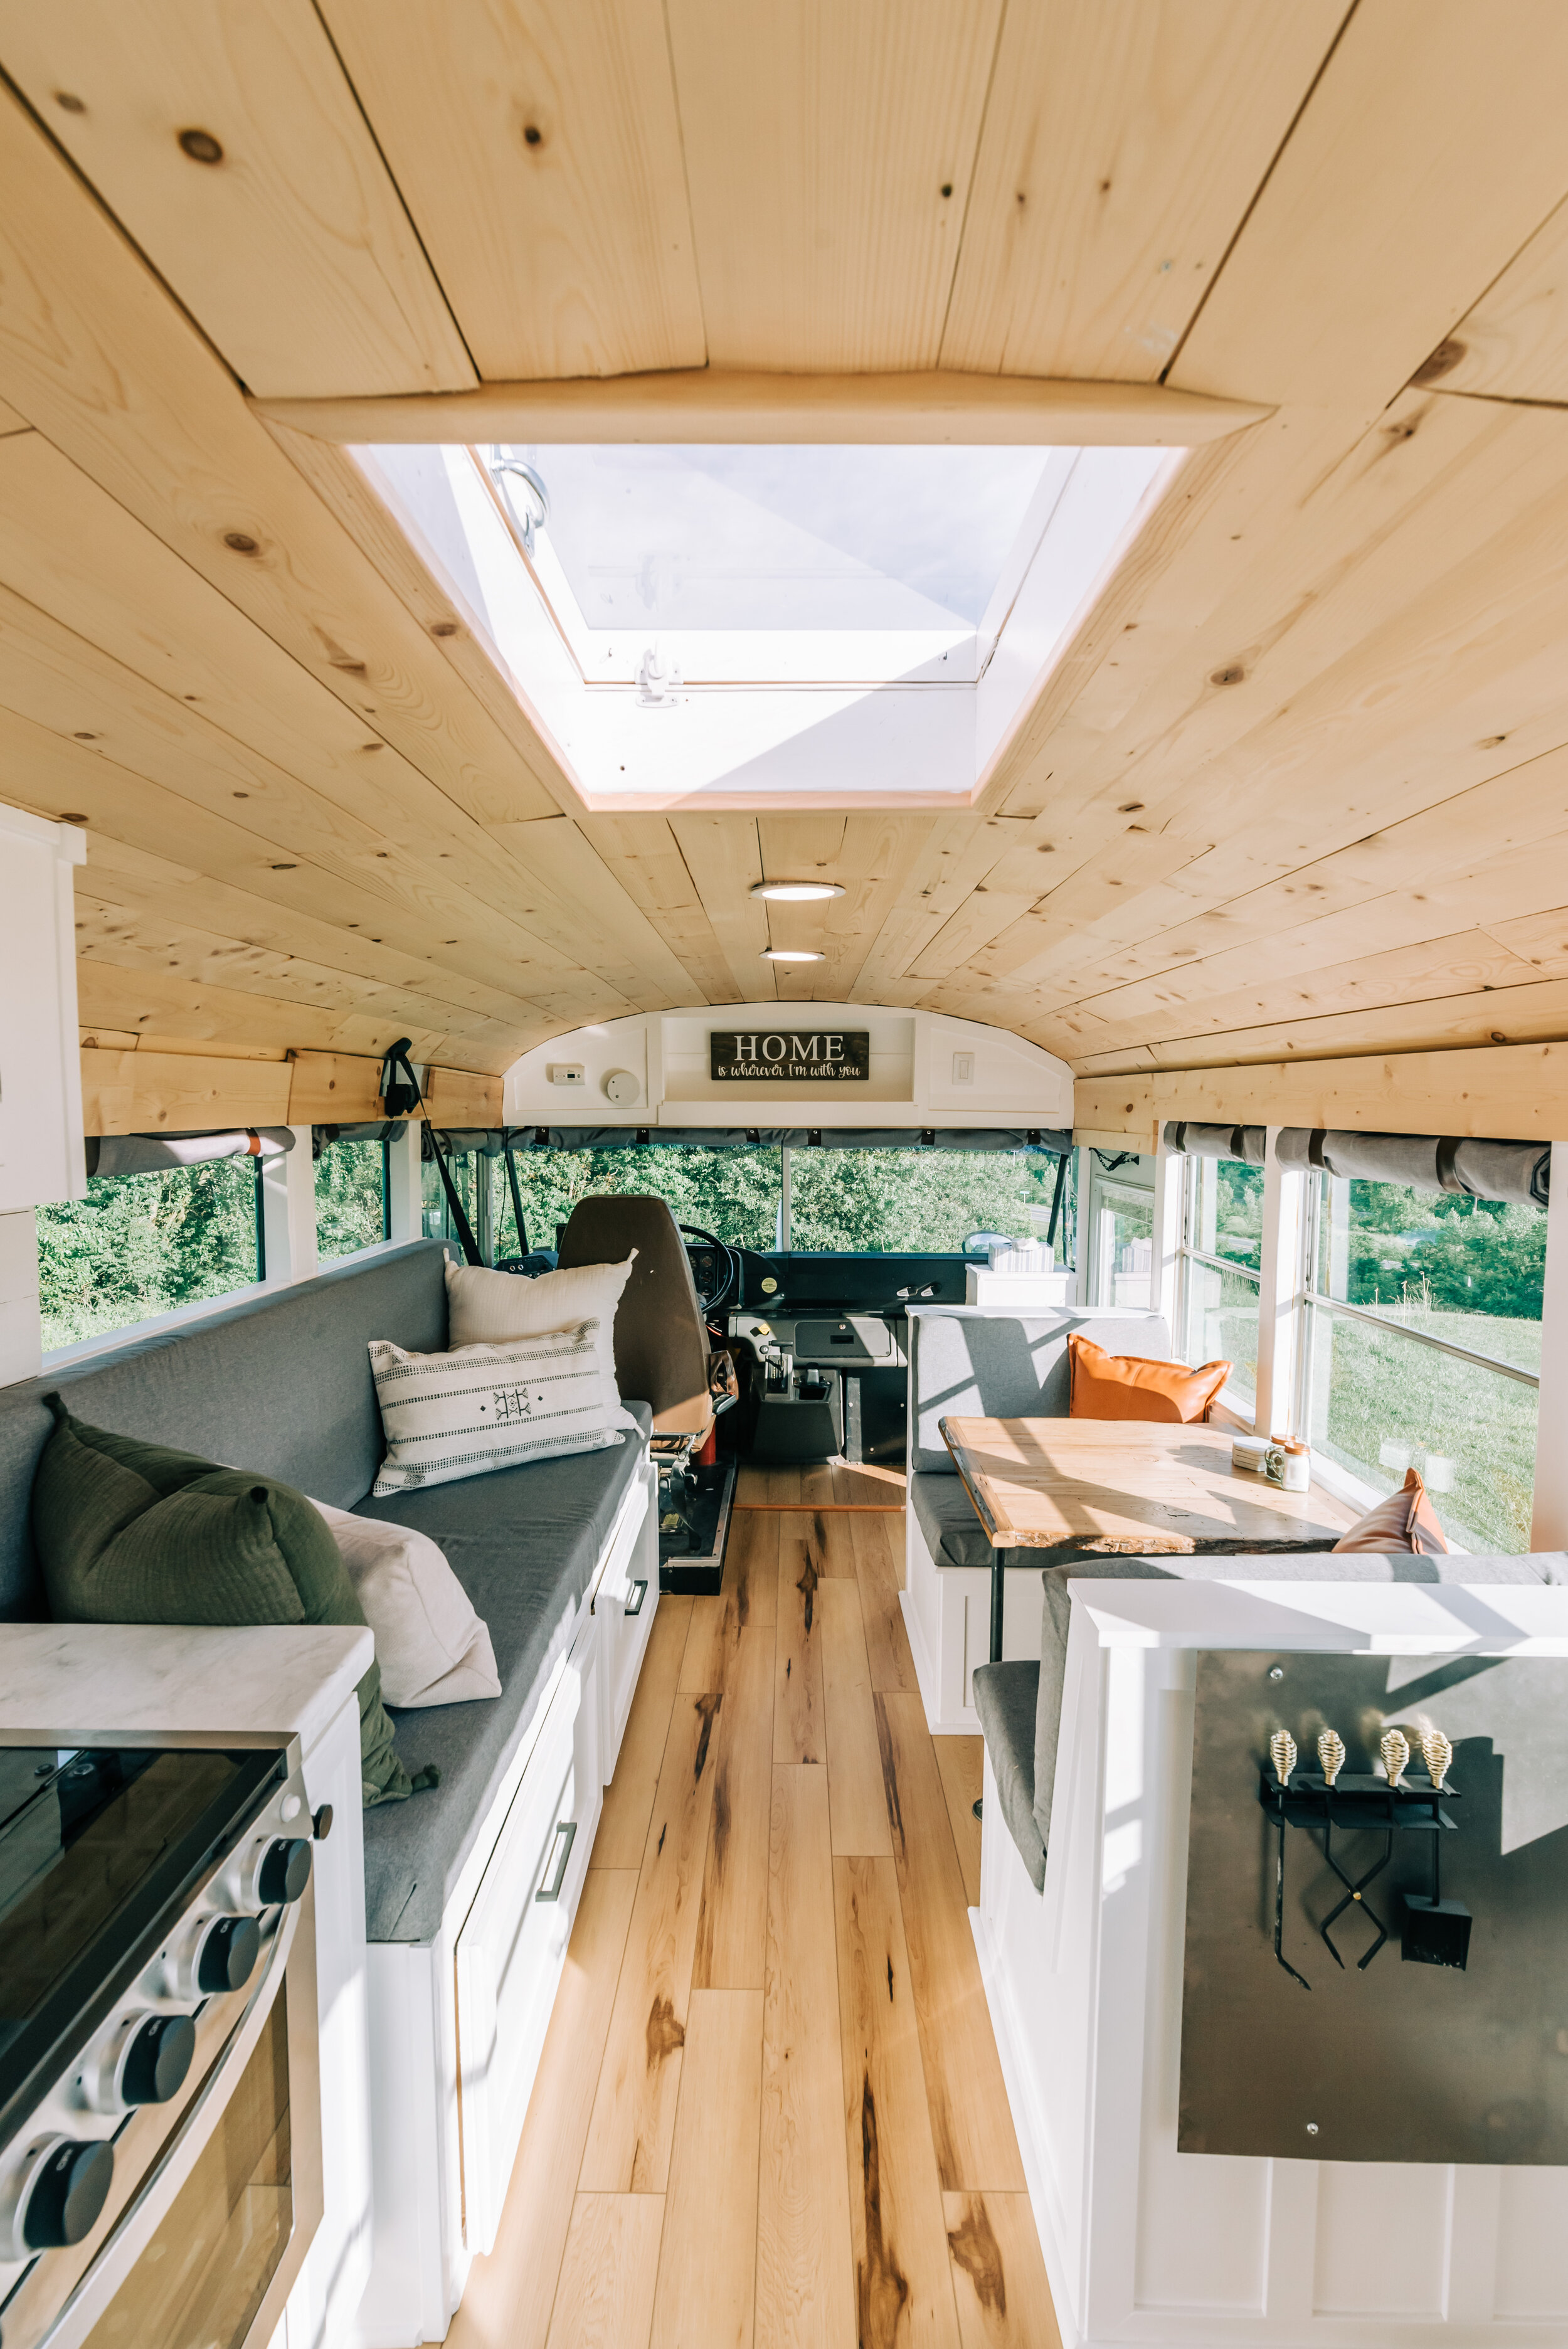
When I first started researching other skoolie conversions to begin designing the layout of our own, I knew we would rather an “L” shaped layout rather than the traditional center hallway down the middle. With the L layout, we’d be able to keep more windows, which would make the interior brighter and feel bigger, and we liked how it allowed for better separation of the living/bedroom/bathroom spaces. The problem when I was researching, was I could really only find 1 or 2 examples of other skoolies with a layout like the one I had in mind. There were TONS of images, and even floor plans for center-aisle layouts, but I ended up having to plan out the layout completely on my own to get what we wanted. I spent weeks drawing up different layouts to scale down to the inch, and I began realizing that it was definitely harder to make everything fit with the L layout, which is probably why most people go with the center aisle. After weeks and weeks of playing with the floor plan, I finally figured out the one that we ended up building. It allowed for booth seating with a table for eating and working, a decent sized couch (which our dog Sam claims as his own space), and an “L” shaped kitchen with enough counter space, and a small open area within the kitchen to make the space feel less cramped. We created TONS of storage under the couch and inside the booth, so we don’t feel at all deprived of storage space or anything because of the roomer layout.


On the back of one side of the booth, we have storage for shoes, keys, dog leashes, doggy bags, etc. On the back of the other side, we tucked away the wall mounted wood stove from Cubic Mini. This little stove might not look like much, but it heats up the bus really well during the winter.


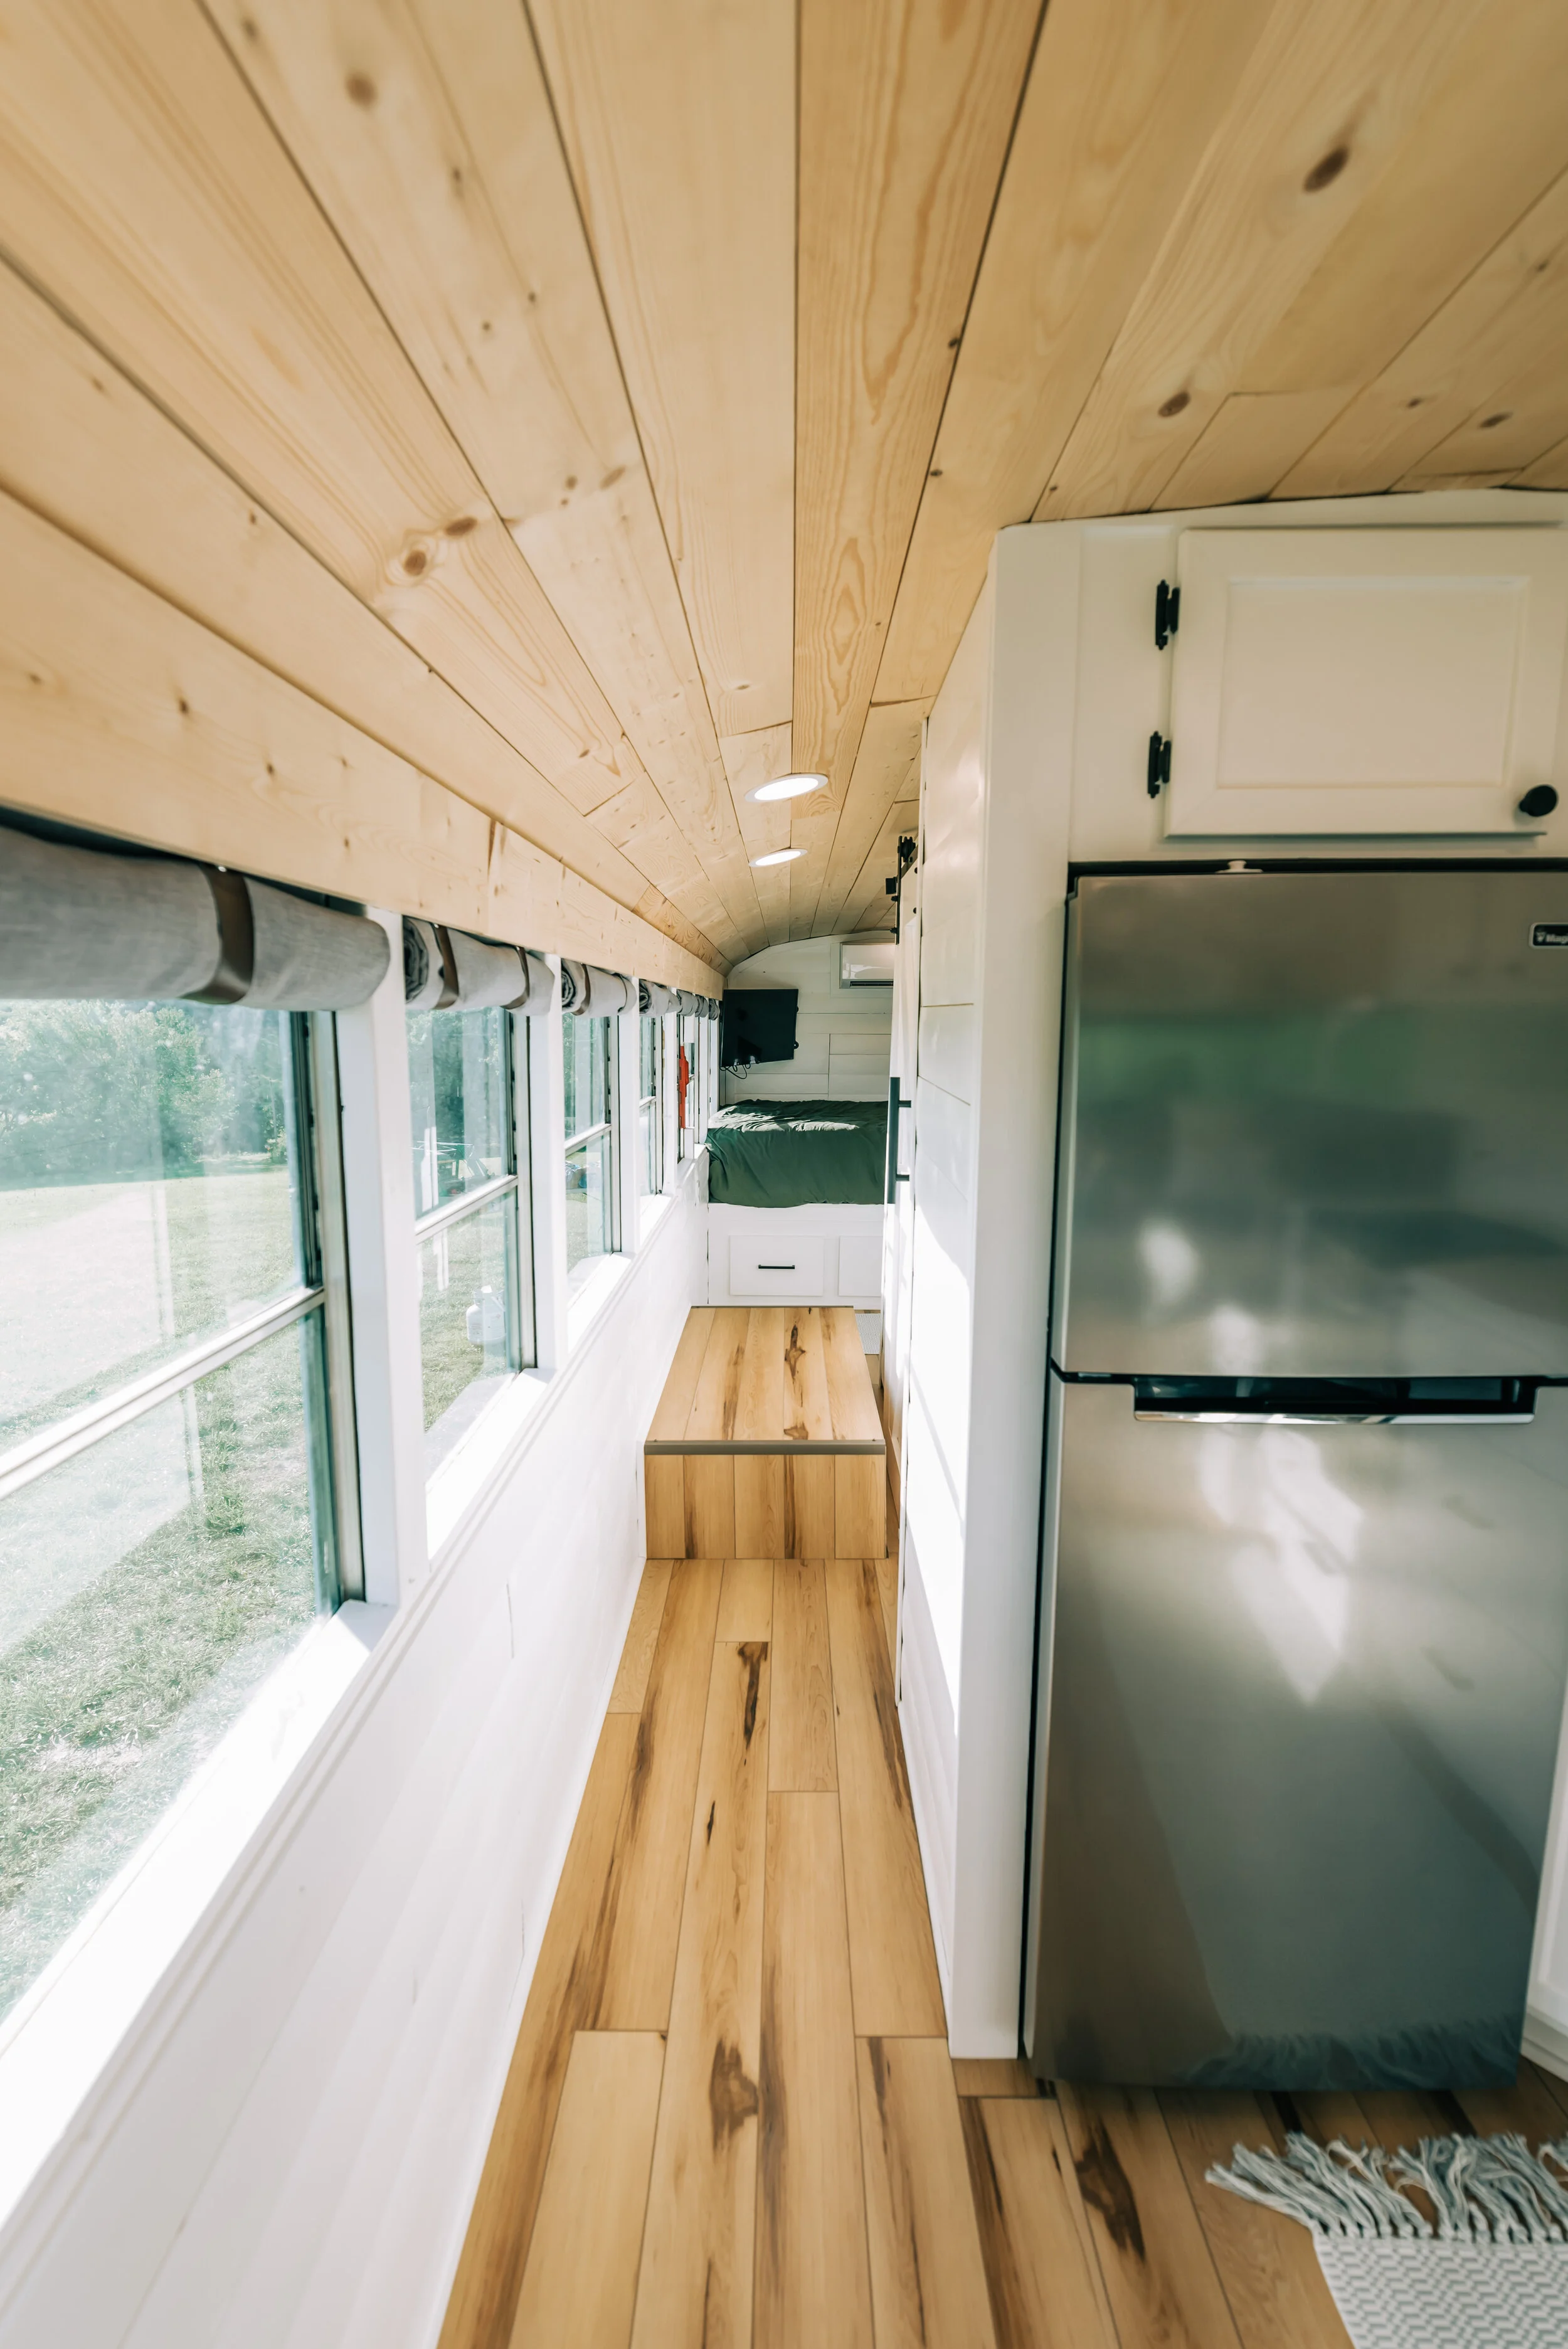


Heading down the hallway, in front of the wheel well we did a sliding barn door for the bathroom to save space. The bathroom has a Separett toilet, which we LOVE and highly recommend over “composting” toilets (don’t even get me started on why composting toilets on skoolies, vans, and RVs don’t actually compost), and a shower with marble tile, and an RV retractible shower door. We chose not to do another sink in the bathroom to keep the space smaller and have less plumbing to deal with, and we haven’t regretted it one bit.


Then, we have the bedroom in the back. We really love the L layout because the bedroom ends up feeling like a completely separate space and SO cozy. We have a 32” TV mounted on the wall, storage around the outside edge of the bed, and storage underneath the bed on both sides. On the inside, we have drawers under the bed, and if you go outside and open up the back door, there is a whole “garage” area under the bed where Josh keeps all his tools. The 100 gallon fresh water tank is also under the bed, straight across the back. Next to the bed we have two closets. The one on the left is for clothes, and the one on the right is out utility closet. The utility closet is Josh’s masterpiece, and has all the electrical and mechanicals for the solar system, the propane hot water heater, and a lot of the plumbing. Next to the closets, we have a cabinet for clothes and our Magic Chef all-in-one washer dryer.


Excuse the cell phone photos here! On the outside on the right side, we mounted truck toolboxes underneath to add more storage for wood, tools, etc.

On the left side, the box closest to the front has the 100 gallon grey water tank inside it. The box is insulated and has two RV heating pads underneath it that we can turn on when it gets below freezing. The next box is our propane storage that holds two 20 pound propane tanks. The box on the back has our solar batteries encased completely in wood, which is recommended by the manufacturer for safety. Both the propane and battery boxes have a metal cover on hinges, with locks on both sides.
Lastly, we’ll be flat towing our Jeep Wrangler behind the bus! Images and details to come on that after we’ve tried it out for a while!
If you have any questions about our conversion, always feel free to email me at hello@beccamathews.com or DM me on instagram @thebeccamathews